These steps apply to Organization Admins on the Enterprise plan with a Curated Data Pass
As an Organization Admin, you can control exactly which data your organization has access to. Instead of enabling an entire Data Pass at once, you can choose to enable individual data providers within it — or even individual data integrations within a provider — so your team only has access to the sources you actually need. Each level of access requires you to accept the relevant terms and conditions before your organization can use it.
View your organization's Data Passes
- Log in to Maltego Admin.
- Click on Data in the left-hand navigation.
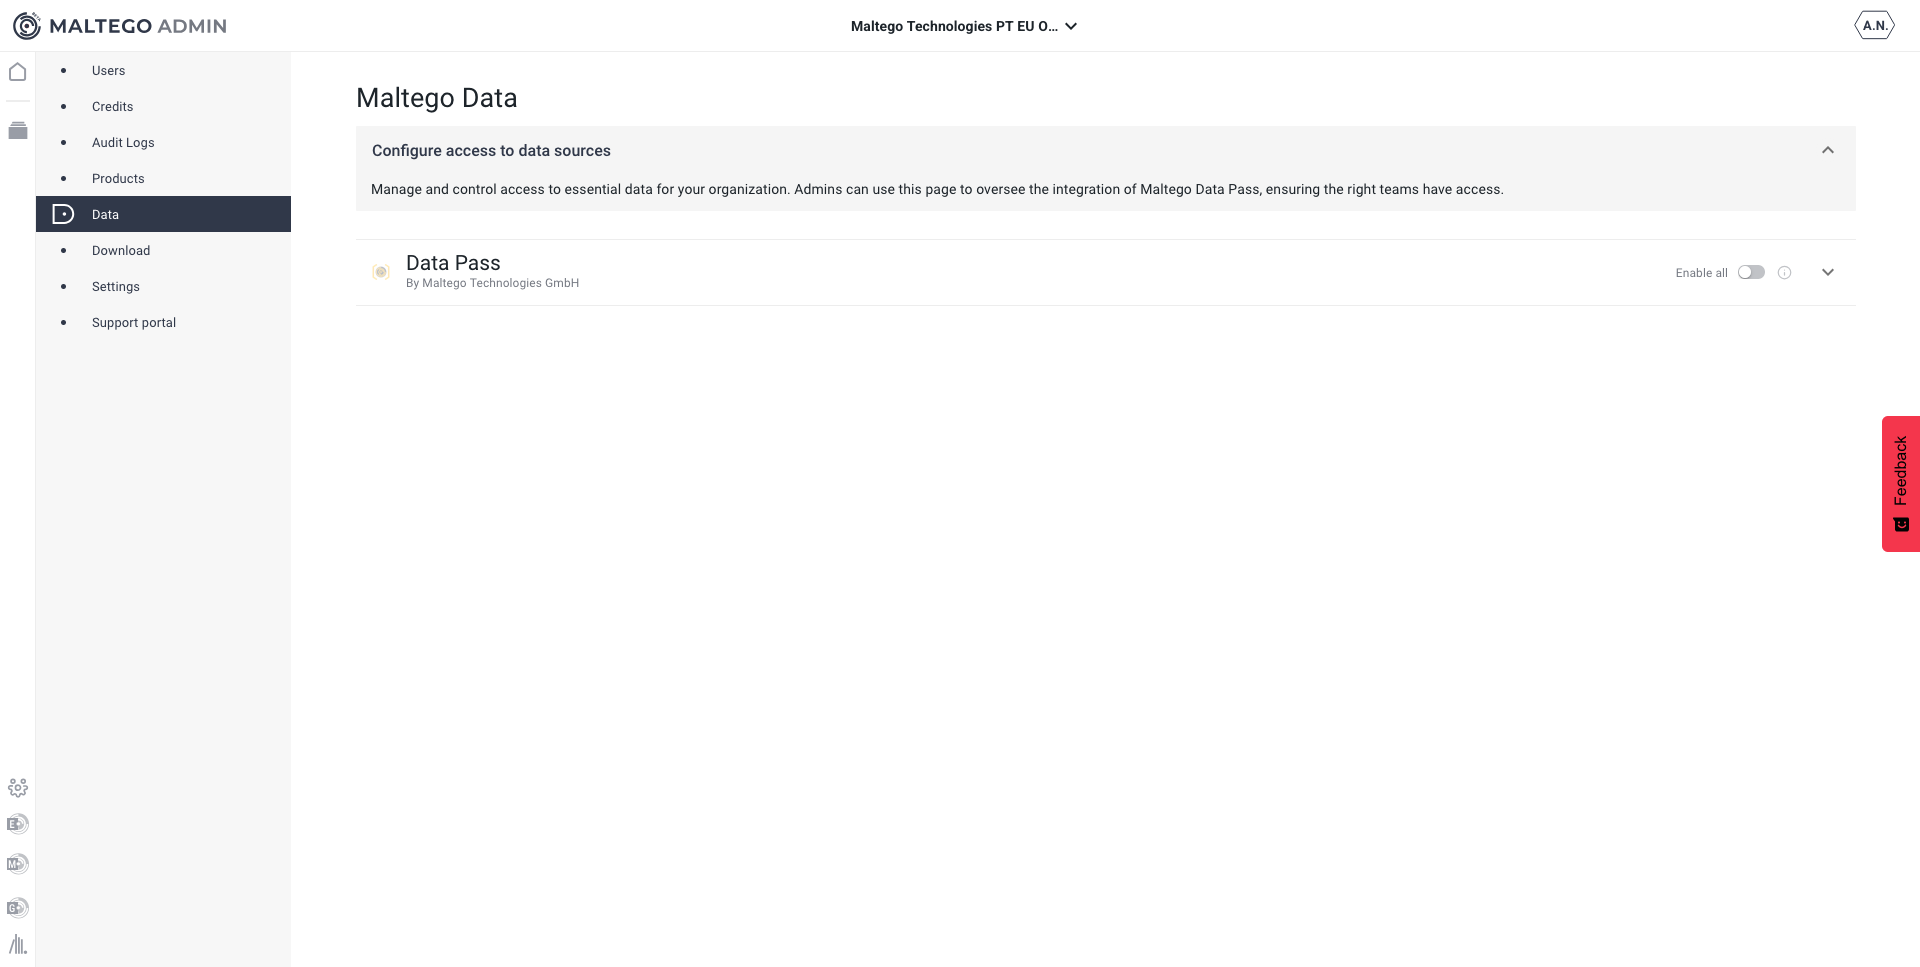
You'll see the Data Pass available to your organization, along with who it is provided by.
Enable a full Data Pass
If you want to give your organization access to everything included in a Data Pass, you can enable it all at once.
- On the Data page, click the enablement toggle next to the Data Pass.
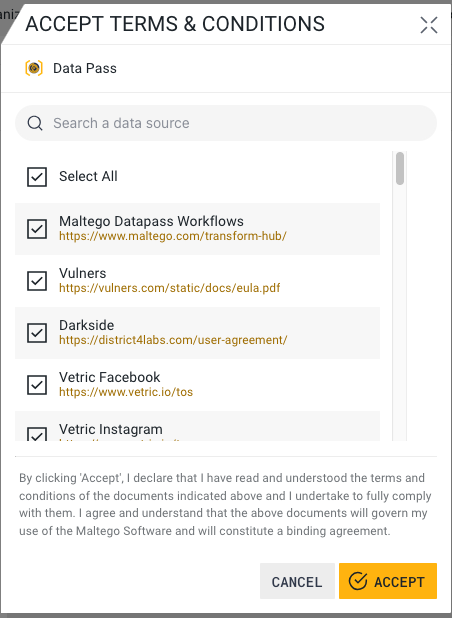
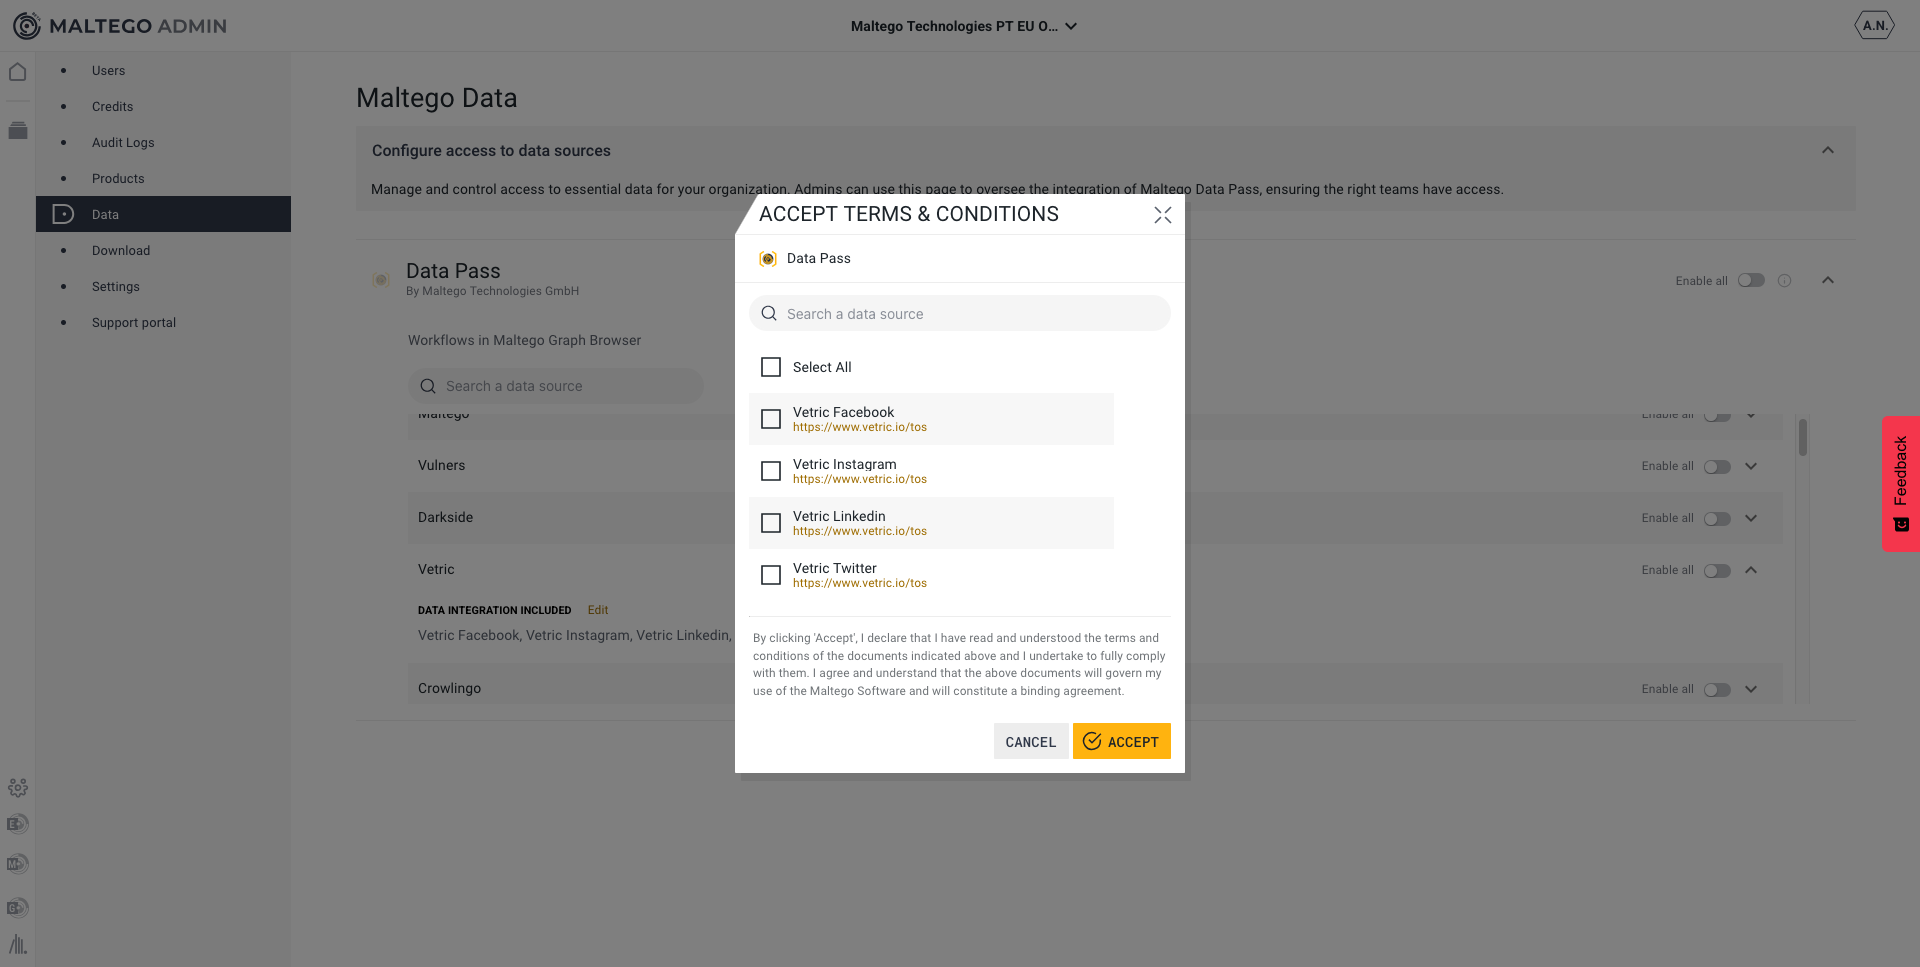
- In the Accept Terms & Conditions window, review the data sources included and their linked legal documents.
- Leave Select All checked to accept the terms for every data source in the Data Pass, then click Accept.
Tip: If you'd rather only enable specific data providers instead of the whole Data Pass, skip this step and go to Enable specific data providers below — the toggle only turns on providers you've explicitly selected.
Enable specific data providers within a Data Pass
If you only need some of the data providers in a Data Pass, you can enable them individually instead of turning on the whole pass.
- On the Data page, click the arrow next to the Data Pass to expand it.
You'll see every data provider included in the Data Pass, each with its own enablement toggle.
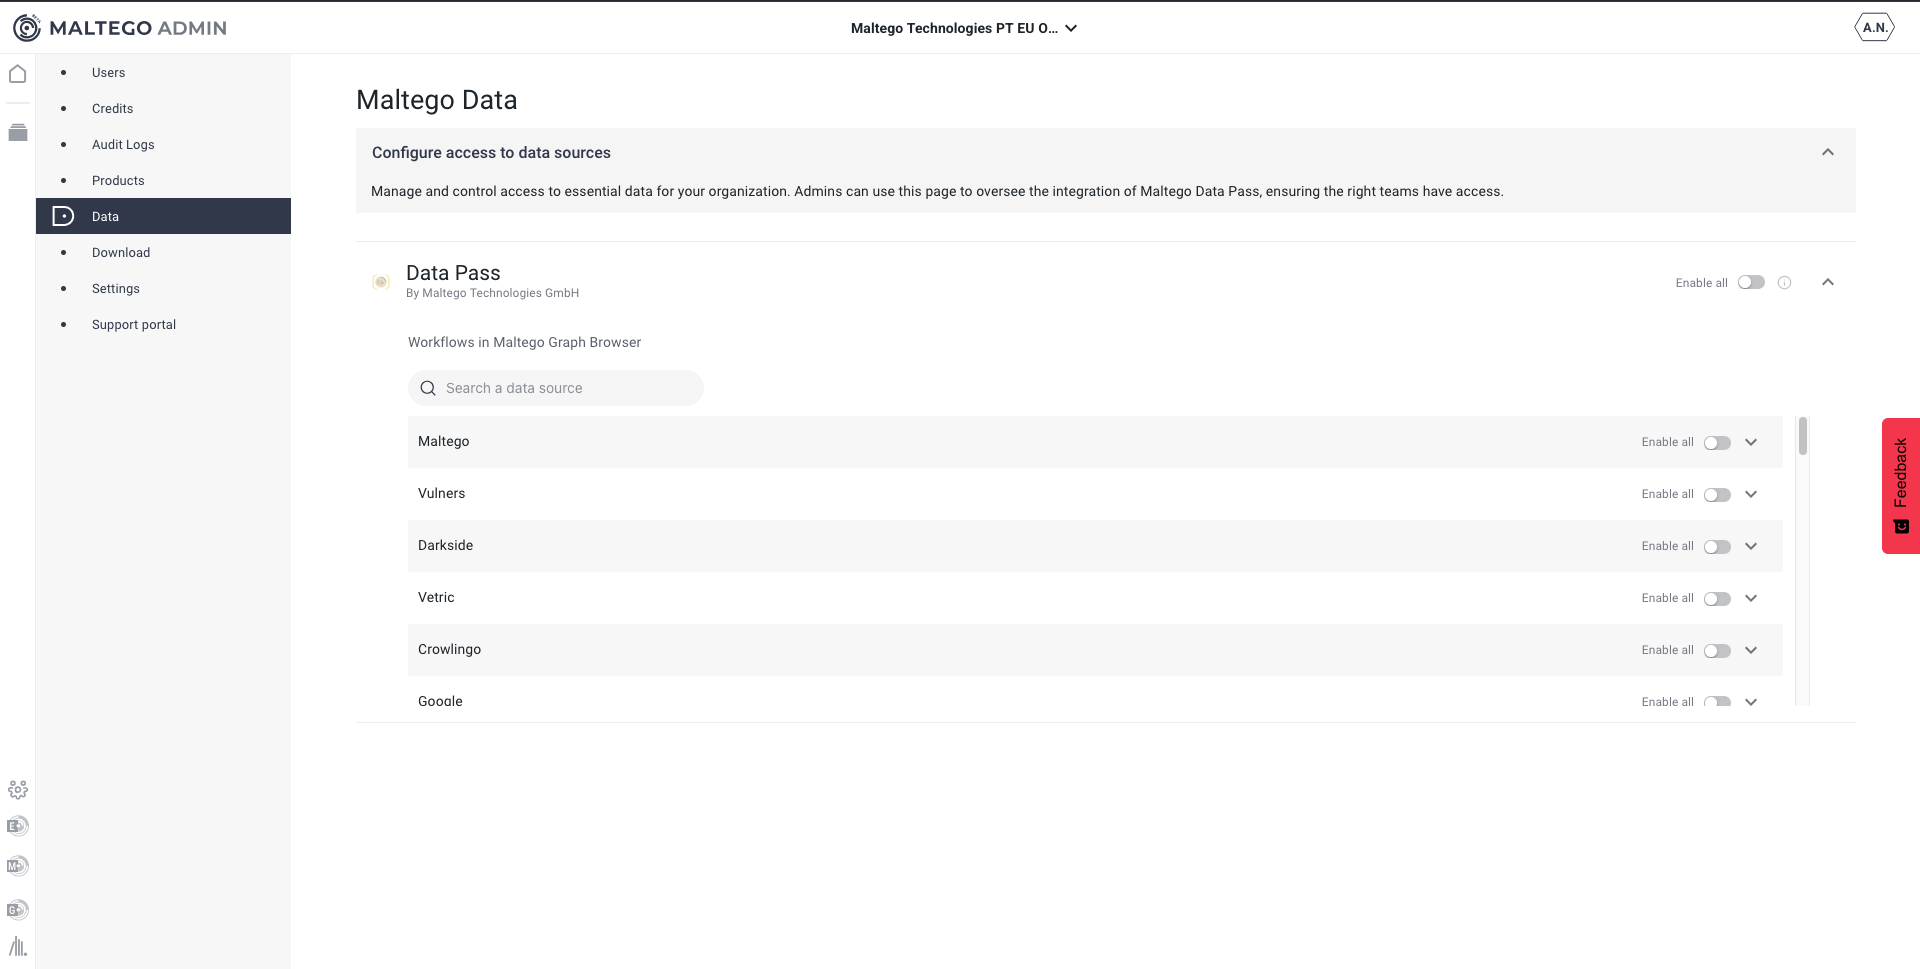
- Click the toggle next to the data provider you want to enable (for example, Vulners).
- In the Accept Terms & Conditions window, review and accept the terms and conditions for that specific data provider by clicking Accept.
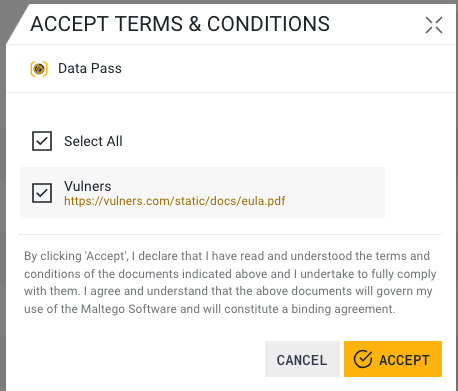
Once accepted, that data provider becomes available for your organization to use in Maltego Graph (Browser) and Maltego Search.
Enable individual data integrations within a data provider
Some data providers are made up of several underlying data integrations — you can control access at this level too.
- Expand the data provider you want to review (for example, Vetric).
- Under Data Integrations Included, you'll see the list of integrations bundled into that provider (for example, Vetric Facebook, Vetric Instagram, Vetric Linkedin and Vetric Twitter).
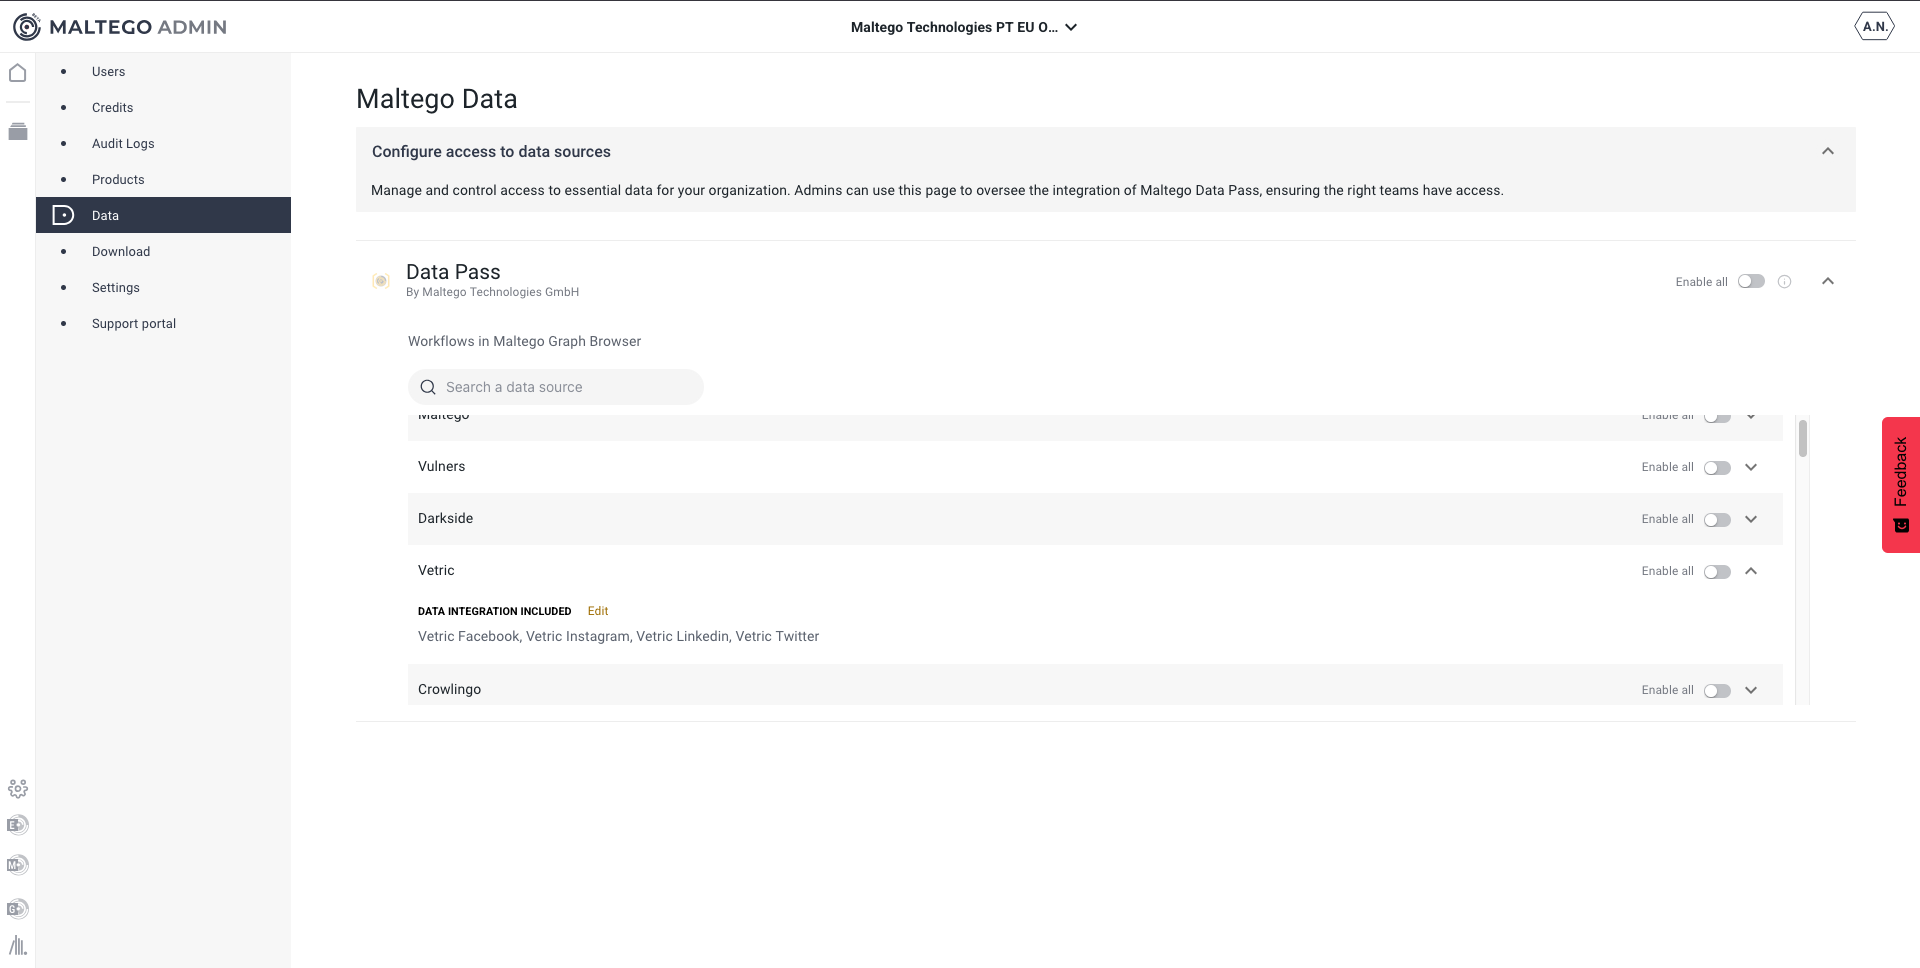
- Click Edit to open the Data Integrations Enablement window.
- Use Select All to enable every integration, or click on individual checkboxes for only the integrations you need.
- Click OK to save your selection.
Note: Integrations that require a higher plan appear with a tooltip such as "This integration requires the Enterprise plan." Clicking one of these takes you to the pricing page to upgrade.
Optional: Reviewing or changing access later
You can return to Admin > Data at any time to check what's currently enabled, expand the Data Pass or data provider to review its integrations, or disable access you no longer need. Only enabled Data Passes, data providers, and integrations are available for your organization's users to run Transforms against — anything left disabled won't appear as an option in Maltego Graph (Browser) or Maltego Search.